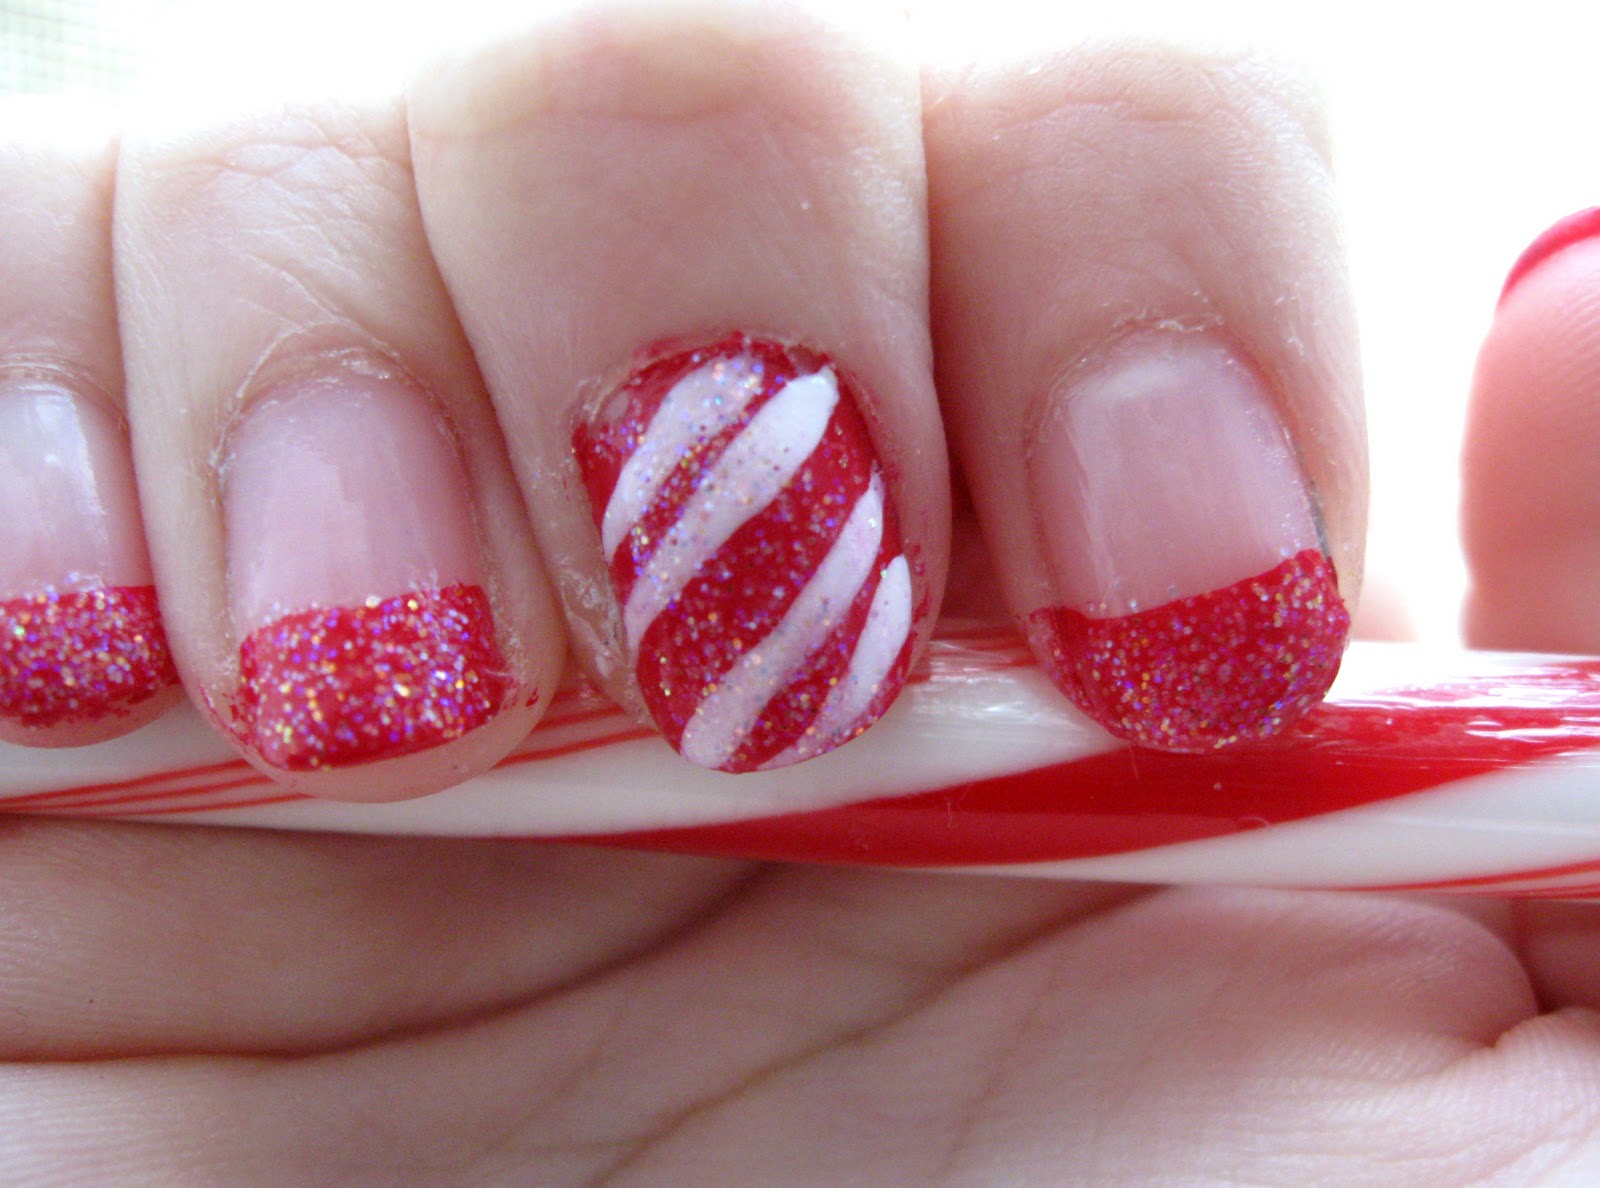
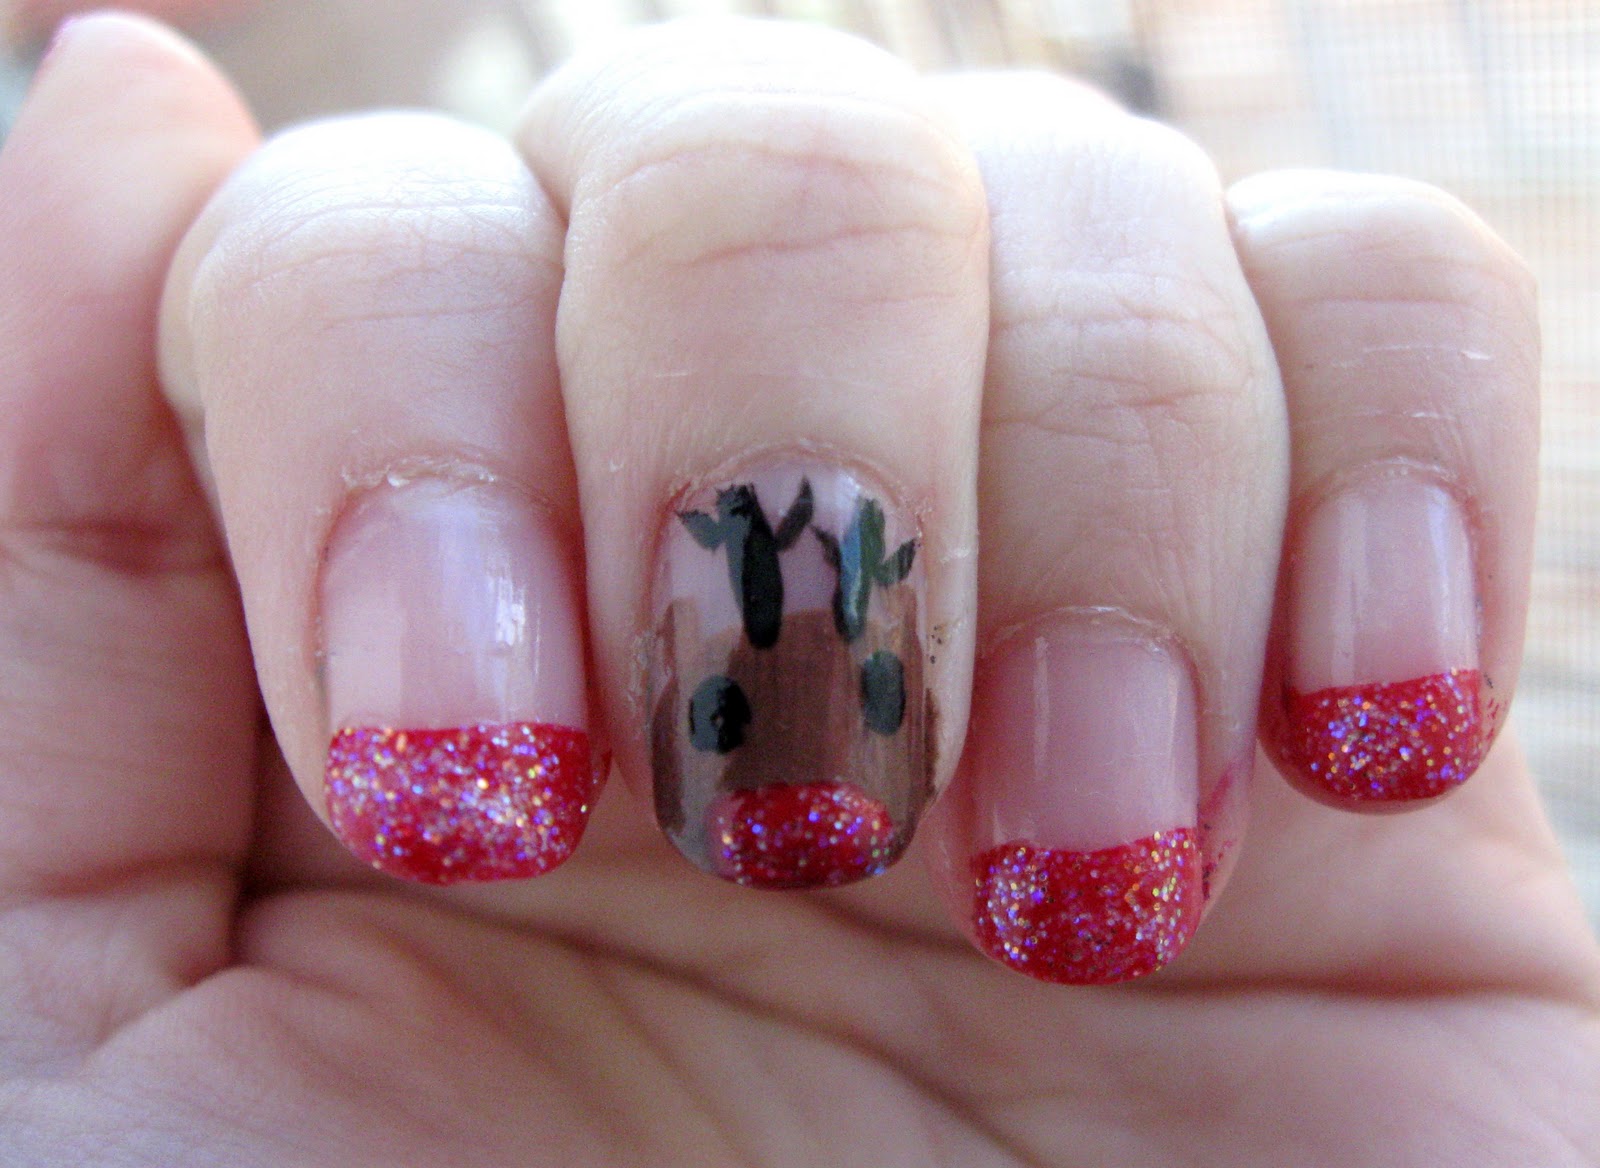
Hello there! I have a quick NOTD to share with you! I started out with 2 coats of Wet n Wild Tickled Pink, then added a coat of Wet n Wild Hallucinate. These are from the 99 cent Wild Shine line of nail polishes. For 99 cents, these polishes are pretty great! I have about 5 or 6 of them, and they all are awesome.
Tickled Pink was streaky on the first coat, and evened out on the second. If I wasn't going to top it with the glitter, I would have done 3 coats of the pink. This combination of bubble gum Barbie pink and iridescent glitter make my nails look like a diva snow globe! I typically wear this combination during the winter, but I was kind of tired of my typical summer blues and corals. Just kidding. I love blues and bright colors! But I did want to do something different.
Bring on the many pictures!!!
Showing posts with label Wet N Wild. Show all posts
Monday, July 16, 2012
Friday, June 1, 2012
Pretty Peacock Eyeliner Two Ways: A Tutorial
Hello there! I have been addicted to Pinterest lately, and I came across a beautiful picture, which I'll share at the end of this post. I wanted to recreate the look for my brown eyes. After doing it similar to the picture, I decided to put the color on my upper lash line instead. So here are my two different peacock eyeliner looks! I'll have a list of products used below the pictures!! Make sure you click on the pictures to get a better look at them!
Lower Lash Line Peacock Liner:
This is a subtly dramatic look that is good for a night out.
-Maybelline Color Tattoo in Too Cool as overall base.
-Mac Painterly Paint Pot as base for lower lash line.
-Sweep shimmery bronze shade all over lid and crease area.
-Take purple, blue, and green liner to line bottom lash line. This will be a base for the eyeshadow. I used a Turquoise and Amethyst liner.
- Pat coordinating eyeshadow on top of the liner. Start with the purple, then work your way from blue to green. This makes blending much easier.
-Apply shimmery champagne shade to inner corner & brow.
-Line upper lash line, I used a liquid liner & line lower water line, I used a pencil.
-Also, I think it would look better if you tight lined your upper water line. I didn't do this, but I think it would have looked better.
-Curl lashes & apply mascara!
Please have a lovely day!!!
Lower Lash Line Peacock Liner:
This is a subtly dramatic look that is good for a night out.
-Maybelline Color Tattoo in Too Cool as overall base.
-Mac Painterly Paint Pot as base for lower lash line.
-Sweep shimmery bronze shade all over lid and crease area.
-Take purple, blue, and green liner to line bottom lash line. This will be a base for the eyeshadow. I used a Turquoise and Amethyst liner.
- Pat coordinating eyeshadow on top of the liner. Start with the purple, then work your way from blue to green. This makes blending much easier.
-Apply shimmery champagne shade to inner corner & brow.
-Line upper lash line, I used a liquid liner & line lower water line, I used a pencil.
-Also, I think it would look better if you tight lined your upper water line. I didn't do this, but I think it would have looked better.
-Curl lashes & apply mascara!
Upper Lash Line Peacock Liner:
This is a more wearable colorful look.
-Apply base all over lid, I used Maybelline Color Tattoo in Too Cool.
-Again, use the colored pencil liners as a base for the eyeshadows, this time on the upper lash line.
-Dampen a thin liner brush in water and squeeze excess water from the brush.
-Start with purple eyeshadow, then blue and green. Make sure to pat it on, don't sweep it. Gently blend.
-Sweep a bronze shade all over lid and crease, avoiding the liner.
-Apply shimmery champagne shade to inner corner & brow.
-Line as close to your lashes as you can with a black gel liner.
-Line lower water line with black pencil & lower lash line with a bronze pencil.
-Again, I think it would have looked better if it tight lined my upper water line.
-Curl lashes & apply mascara!
Inspiration For This Look:
Products Used:
Elf Little Black Beauty Book Vol.1
L'oreal Hip Duo in Showy
Maybelline Duos in Lasting Lilac & Shocking Seas
Maybelline Color Tattoo in Too Cool
Mac Paint Pot in Painterly
L'oreal Voluminous mascara
Wet n Wild Color Icon pencils in Bronze, Amethyst, and Turquoise
Maybelline Master Drama eyeliner in Onyx
Maybelline Line Stiletto liquid liner in Blackest Black
Physicians Formula gel liner
I hope you enjoyed this eye look! I love doing colorful looks every now and then. I like to believe that I am improving on applying makeup, being more creative, and taking better photos of my makeup looks. Here are the eye looks I have done in the past, and you can expect to see more in the near future! Click on a look if you are interested in learning how to do them! :)
Please have a lovely day!!!
Sunday, March 11, 2012
NOTD: Dreamy Poppy
Okay, so this is actually from a few days ago....but we'll go with it! ;)
You would think that if you paid 99 cents for a nail polish, that's the result you would get: cheap and awful. But Wet N Wild proves that concept wrong with all of its wonderful, affordable products.
I love their Wild Shine and Mega Last nail polishes. I have several that I plan to share in a post in the future. But today (or a few days ago) I have Dreamy Poppy, a really pretty "poppy" pink polish. The formula on this applies amazingly, but the formula itself is odd. It's like some sort of jelly-cream hybrid. But I love it!
I did a nail art post using Dreamy Poppy as the base color right here.
You would think that if you paid 99 cents for a nail polish, that's the result you would get: cheap and awful. But Wet N Wild proves that concept wrong with all of its wonderful, affordable products.
I love their Wild Shine and Mega Last nail polishes. I have several that I plan to share in a post in the future. But today (or a few days ago) I have Dreamy Poppy, a really pretty "poppy" pink polish. The formula on this applies amazingly, but the formula itself is odd. It's like some sort of jelly-cream hybrid. But I love it!
I did a nail art post using Dreamy Poppy as the base color right here.
Dreamy Poppy (sunlight from window)
Dreamy Poppy (indoor lighting)
-1 coat of Wet N Wild Nail Protector Clear coat
-3 coats of Wet N Wild Dreamy Poppy
-1 coat of Nutra Nail Speed Dry Top Coat
This color is so pretty & perfect for the warm months! This looks wonderful on the toes as well!
I hope you enjoy this color and give it a try! It's only 99 cents, so it shouldn't be too hard if you decide you don't like it! ;)
Thursday, March 8, 2012
NOTD: Polka Dot Nails
Hello there!
Today, I decided to have some fun with my nails. I don't really do much nail art, so I thought I'd do something incredibly easy: polka dots! I just used toothpicks, and dropped some polish onto tin foil to dip the toothpicks into. I don't really like the color choices, and there are too many dots. lol. But it's something cute and easy to do!
Here ya go!
*LOTS OF PICTURES BELOW!*
Today, I decided to have some fun with my nails. I don't really do much nail art, so I thought I'd do something incredibly easy: polka dots! I just used toothpicks, and dropped some polish onto tin foil to dip the toothpicks into. I don't really like the color choices, and there are too many dots. lol. But it's something cute and easy to do!
Here ya go!
*LOTS OF PICTURES BELOW!*
Wet N Wild "Dreamy Poppy"
Sally Hansen Xtreme Wear "Lacey Lilac"
Sally Hansen Xtreme Wear "Pacific Blue"
China Glaze "Flip Flop Fantasy"
China Glaze "For Audrey"
Base coat: Wet N Wild Nail Strengthener.
Top coat: Nutra Nail Speed Dry Top Coat
Super easy and fun to experiment with different colors and shapes!
=)
Saturday, December 17, 2011
A Christmas Mani: Rudolph & Candy Cane Nails
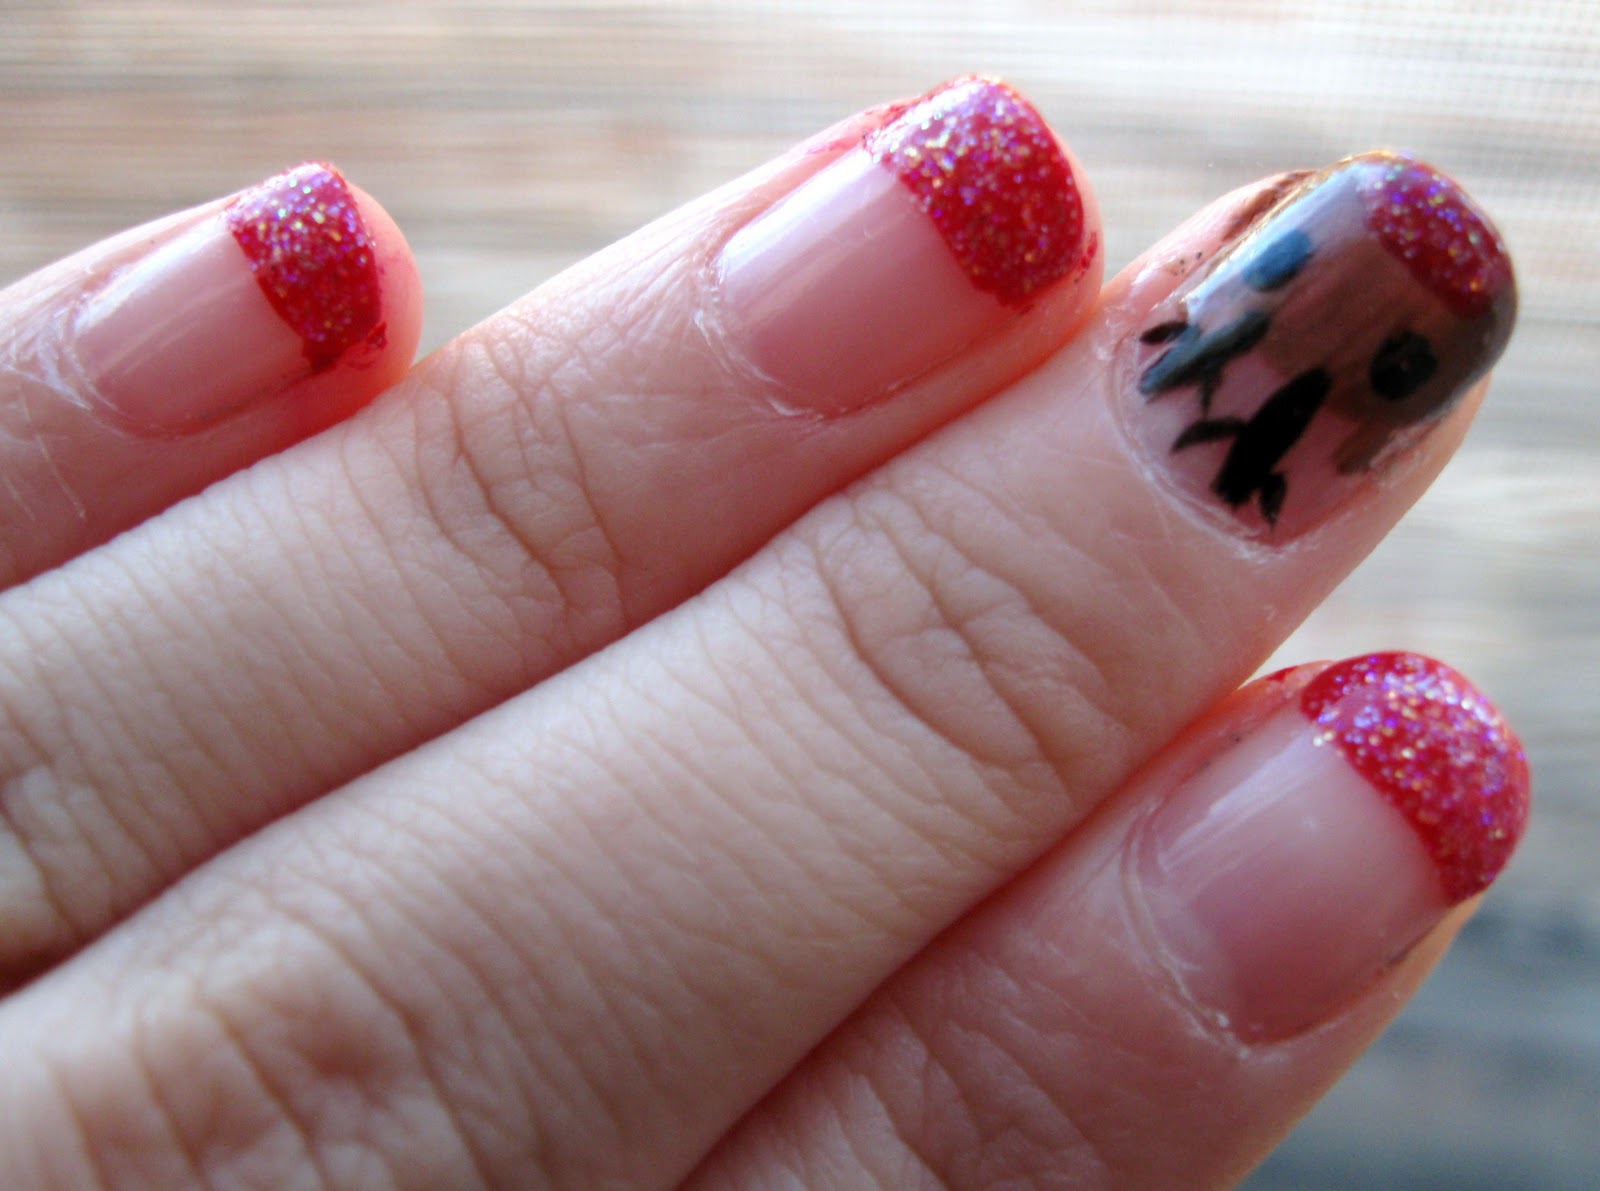
Hello, lovelies! I'm very excited to share my Christmas manicure with you! I'm usually very bad at nail art. I don't have steady hands, I get impatient with the drying time, and when I mess up, I just quit. But I managed to do these cute nails the first time! I was inspired by CutePolish on youtube. She did a Rudolph the Red Nose Reindeer nail tutorial and a candy cane tutorial. I decided to do my own rendition of her designs! I think they turned out super cute! I took so many pictures of them because they are just too cute. Click on the images to enlarge, and if you want to know how I did this, check out CutePolish's youtube channel! I'm bad at explaining things...LOL
(Please excuse my icky cuticles and the messy polish on the sides of my nails...I forgot to clean them up before photographing!)
Here are the products I used to create these cute nails:
Sally Hansen Hard As Nails in Mocha
Wet N Wild Wild Shine in Red Red and Hallucinate
LA Colors Top/Base coat and Art Deco pens in Black and White
A closer look at Hallucinate
On the rest of my nails, I did red tips w/ glitter.
Rudolph!
Candy Cane!
This look can be done on shorter nails, like mine. But I think it'd be much easier on longer nails. Just do whatever works for you!
I hope you enjoyed the pictures! Have a very merry Christmas!!
=)
Thursday, July 21, 2011
EOTD: Tropical Sunset Smoothie Eyes
Hello there! I was inspired to do an eye look that juicystar07 did on her youtube channel. She was inspired by some European picture, and she inspired me! LOL This is a pretty colorful look, but I toned it down a bit so it is pretty wearable. You could wear this to a party, dinner, or just anytime you want! The eyeshadow look is very similar to my Summer Sunflower Eyes ETOD. It was pretty simple to do, and I used all drugstore products. So, I'm just going to jump right into it! =)
*** Click images to enlarge for better detail!!!!!!***
Step 1:
Apply a shimmery base all over your lids & crease. I used the Wet N Wild Idol Eyes Cream Pencil in Pixi.
Step 2:
Take a light shimmery gold shade and dust it over the inner part of your lid.
Step 3:
Take a yellow shadow and place it halfway on your lid.
Step 4:
Apply an orange color on the outer half of your lid. Also, take a hot pink color to the outer corner of your crease/lid. In the pictures, the hot pink doesn't show up so great. You can intensify the pink if you wish, but I toned down the pink. Make sure you've been blending all the colors together along the way, but not blending too much. That would make the colors look too muddy.
Step 5:
Take a purple eyeliner pencil as a base for the gel liner. This will help intensify the purple liner. Use a purple/eggplant/lavender color gel eyeliner and line your upper lash line. I used the Physician's Formula Gel Liner for Brown Eyes, and I used the purple shade. I extended the line past my lid, but I did not wing it. Then top off the liner with a purple eyeshadow.
Step 6:
Take a turquoise eyeliner and apply it to your lower lashline and waterline. I used the Wet N Wild Color Icon Turquoise pencil.
Step 7:
Then take a navy eyeliner and top the turquoise liner with it. I used the Elf Midnight Pencil. This will make a nice blue color. I didn't like the turquoise by itself, or the navy by itself. So I combined them!
Step 8:
Now, just curl your lashes & apply mascara! I first used the Rimmel Max Volume Flash Mascara on my upper lashes. Then I took the Estee Lauder Double Wear Zero Smudge mascara and applied to my top and bottom lashes.
Now you're finished! Here's a bunch of pictures of my Tropical Sunset Smoothie Eyes! Click on the pictures to enlarge them! =)
Here are the products that I used to create this look!
Color Workshop Palette(pink, gold, and orange shadow), Revlon Sunrise Sunset Quad(purple & yellow shadow), L.A. Colors Trendy Palette(yellow shadow), Rimmel Max Volume Flash Mascara, Estee Lauder Double Wear sample mascara, Revlon lash curler, Physician's Formula Gel Liner for Brown eyes(purple shade), Wet N Wild Color Icon pencils in Amethyst and Turquoise, Elf Eyeliner in Midnight, and Wet N Wild Idol Eyes Cream Pencil in Pixi.
I hope you enjoyed this look! Feel free to tweek it, tone it down, intensify it, or do whatever you want! I hope you all have a lovely day!
=)
Subscribe to:
Posts (Atom)